Entity Properties
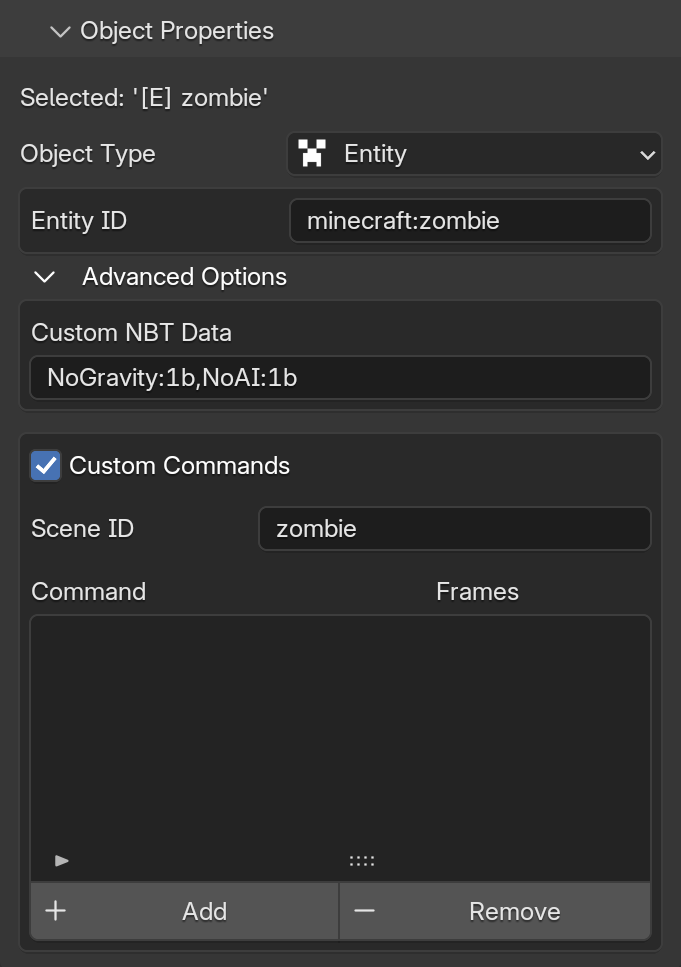
When your object's Type is set to Entity, the properties panel dynamically updates to show settings specific to Minecraft entities. This area allows you to inject custom NBT properties into your entities and specify commands to run during the animation.
Looking for the core settings?
For information on the Active Object Name or how to change the Object Type, please check the Object Properties page.
Entity ID

Similar to the Block ID, this field is where you change the exact Minecraft ID of the entity (e.g. zombie or minecraft:zombie). You can change this ID at any time without losing your animations, and the exported project will automatically use it when summoning the entity in the game.
Anchor

This option only appears when the Anchor in the Export Tab is set to Individual.
It allows you to define exactly which part of the target this specific entity should look at. You can choose between Eyes and Feet, giving you precise control over this entity's focus independently from the rest of the scene.
Advanced Options
This area contains some niche options. Here you can modify properties that affect how the entity is summoned and configure specific commands to be executed by the entity throughout the animation.
Caution
Changes made in this section are not verified. If the NBT data or commands are invalid, some parts of the scene may not function as expected.
Custom NBT Data

This field allows you to add specific NBT data to the entity when it spawns in the game.
-
By default, this is set to
NoGravity:1b,NoAI:1bto prevent the entity from wandering off or falling during your animation. -
You can replace the default tags or add new ones, such as
Passengers:[{id:"minecart"}].
NBT Syntax Rules
Any text you enter here is appended directly to the entity's base data. Think of the final in-game command looking like this: summon <entity_id> {<mca_nbt_tags>, <your_nbt_tags>}.
Since the addon already provides the main brackets, keep these formatting rules in mind to avoid syntax errors:
- Do not include the outermost curly brackets
{} - Separate multiple tags using commas
, - Make sure there are no commas at the very beginning or end of your text
Syntax Examples:
| Input | Note |
|---|---|
| Passengers:[{id:"minecart"}], NoGravity:1b | Correct usage. |
| {Passengers:[{id:"minecart"}]} | Includes the outermost curly brackets {}. |
| NoGravity:1b, Invulnerable:1b, | Has a comma at the very end. |
| NoGravity:1b Invulnerable:1b | Missing a comma between the tags. |
Custom Commands

When you enable the Custom Commands checkbox, additional logic is injected into the exporter specifically for this entity. This allows the entity to execute specific Minecraft commands at exact times during the animation.
Scene ID (SID)

By default, MC Animaker assigns dynamic tags to entities. If you add or delete objects in Blender, these default tags can shift based on the final hierarchy. The SID allows you to assign a fixed, custom tag (e.g. flying_zombie) to the entity. This ensures you can easily target this specific entity with other commands, regardless of changes in your scene.
Command List
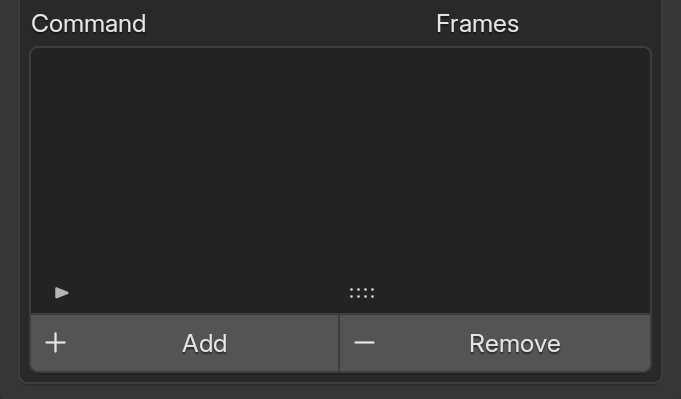
Here is where you manage the specific commands your entity will run. At the bottom of the list, you will find two buttons:
- Add: Inserts a template command into the list. You can then edit this text to be any valid Minecraft command.
- Remove: Completely deletes the currently selected command from the list.
Once a command is added, you will need to configure two main fields:

-
C (Command): The Minecraft command to run.

All commands you add here are automatically executed as the entity and at its exact position (essentially running
execute as <this_entity> at @s run <command>). This means you can freely use@sin your commands to refer to the entity itself.Useful Commands
Here are some examples taking advantage of the execution context:
This is the primary command for entities. It forces the nearest player to spectate the entity, making it incredibly easy to create cameras without complex setups. If you need more than one player to spectate, you can use selectors like@a[sort=furthest,limit=1], add filters liketeam=, or simply stack multiple commands.Spectate Requirement
The
/spectatecommand only works if the target player is already in Spectator mode. Because of this, it is standard practice to executegamemode spectator @pright before triggering the spectate command.This is a useful command to bring some interaction to your animations. You can use it to make players mount flying entities for map mechanics, or as an alternative "free camera" where the player can look around while you control the path and determine when they can exit. Alternatively, you can use Custom NBT if that better suits your map's style.Usingtpmight not seem very useful at first, but depending on your use case, it can be incredibly interesting. Currently, its most amazing function is creating dynamic targets in-game! For example, you can transition a target from a block to this entity, and make this entity follow the player using justtp @s @p. You can even use it on entities outside the animation to make a camera focus on a specific object: Tip: It is highly recommended to set the Entity ID toblock_displayso the entity is completely invisible.Particles! There is not much else to say. You can combine several different particles to create effects, and since this will be executed on an entity in the game, you can freely control their positions using Blender's animation tools! No complex math or confusing command blocks required.Tip: It is highly recommended to set the Entity ID to
block_displayso the entity is completely invisible. -
F (Frames): This field gives you precise control over when your command executes. Rather than just running constantly, you can pinpoint exact moments in your animation timeline, create intervals, or set up complex sequences. Leave it completely blank to run on every frame, or use the formatting below to schedule your commands exactly how you need them:

Practical Examples:
Input Result 1, 5, 10Executes exactly on frames 1, 5, and 10. 1-10Executes on every single frame from 1 to 10. 1-10, 15, 20-30Executes from 1 to 10, pauses, executes once on frame 15, then from 20 to 30. (Empty) Executes constantly throughout the entire animation.